NPT Fittings Explained
NPT Fittings Explained
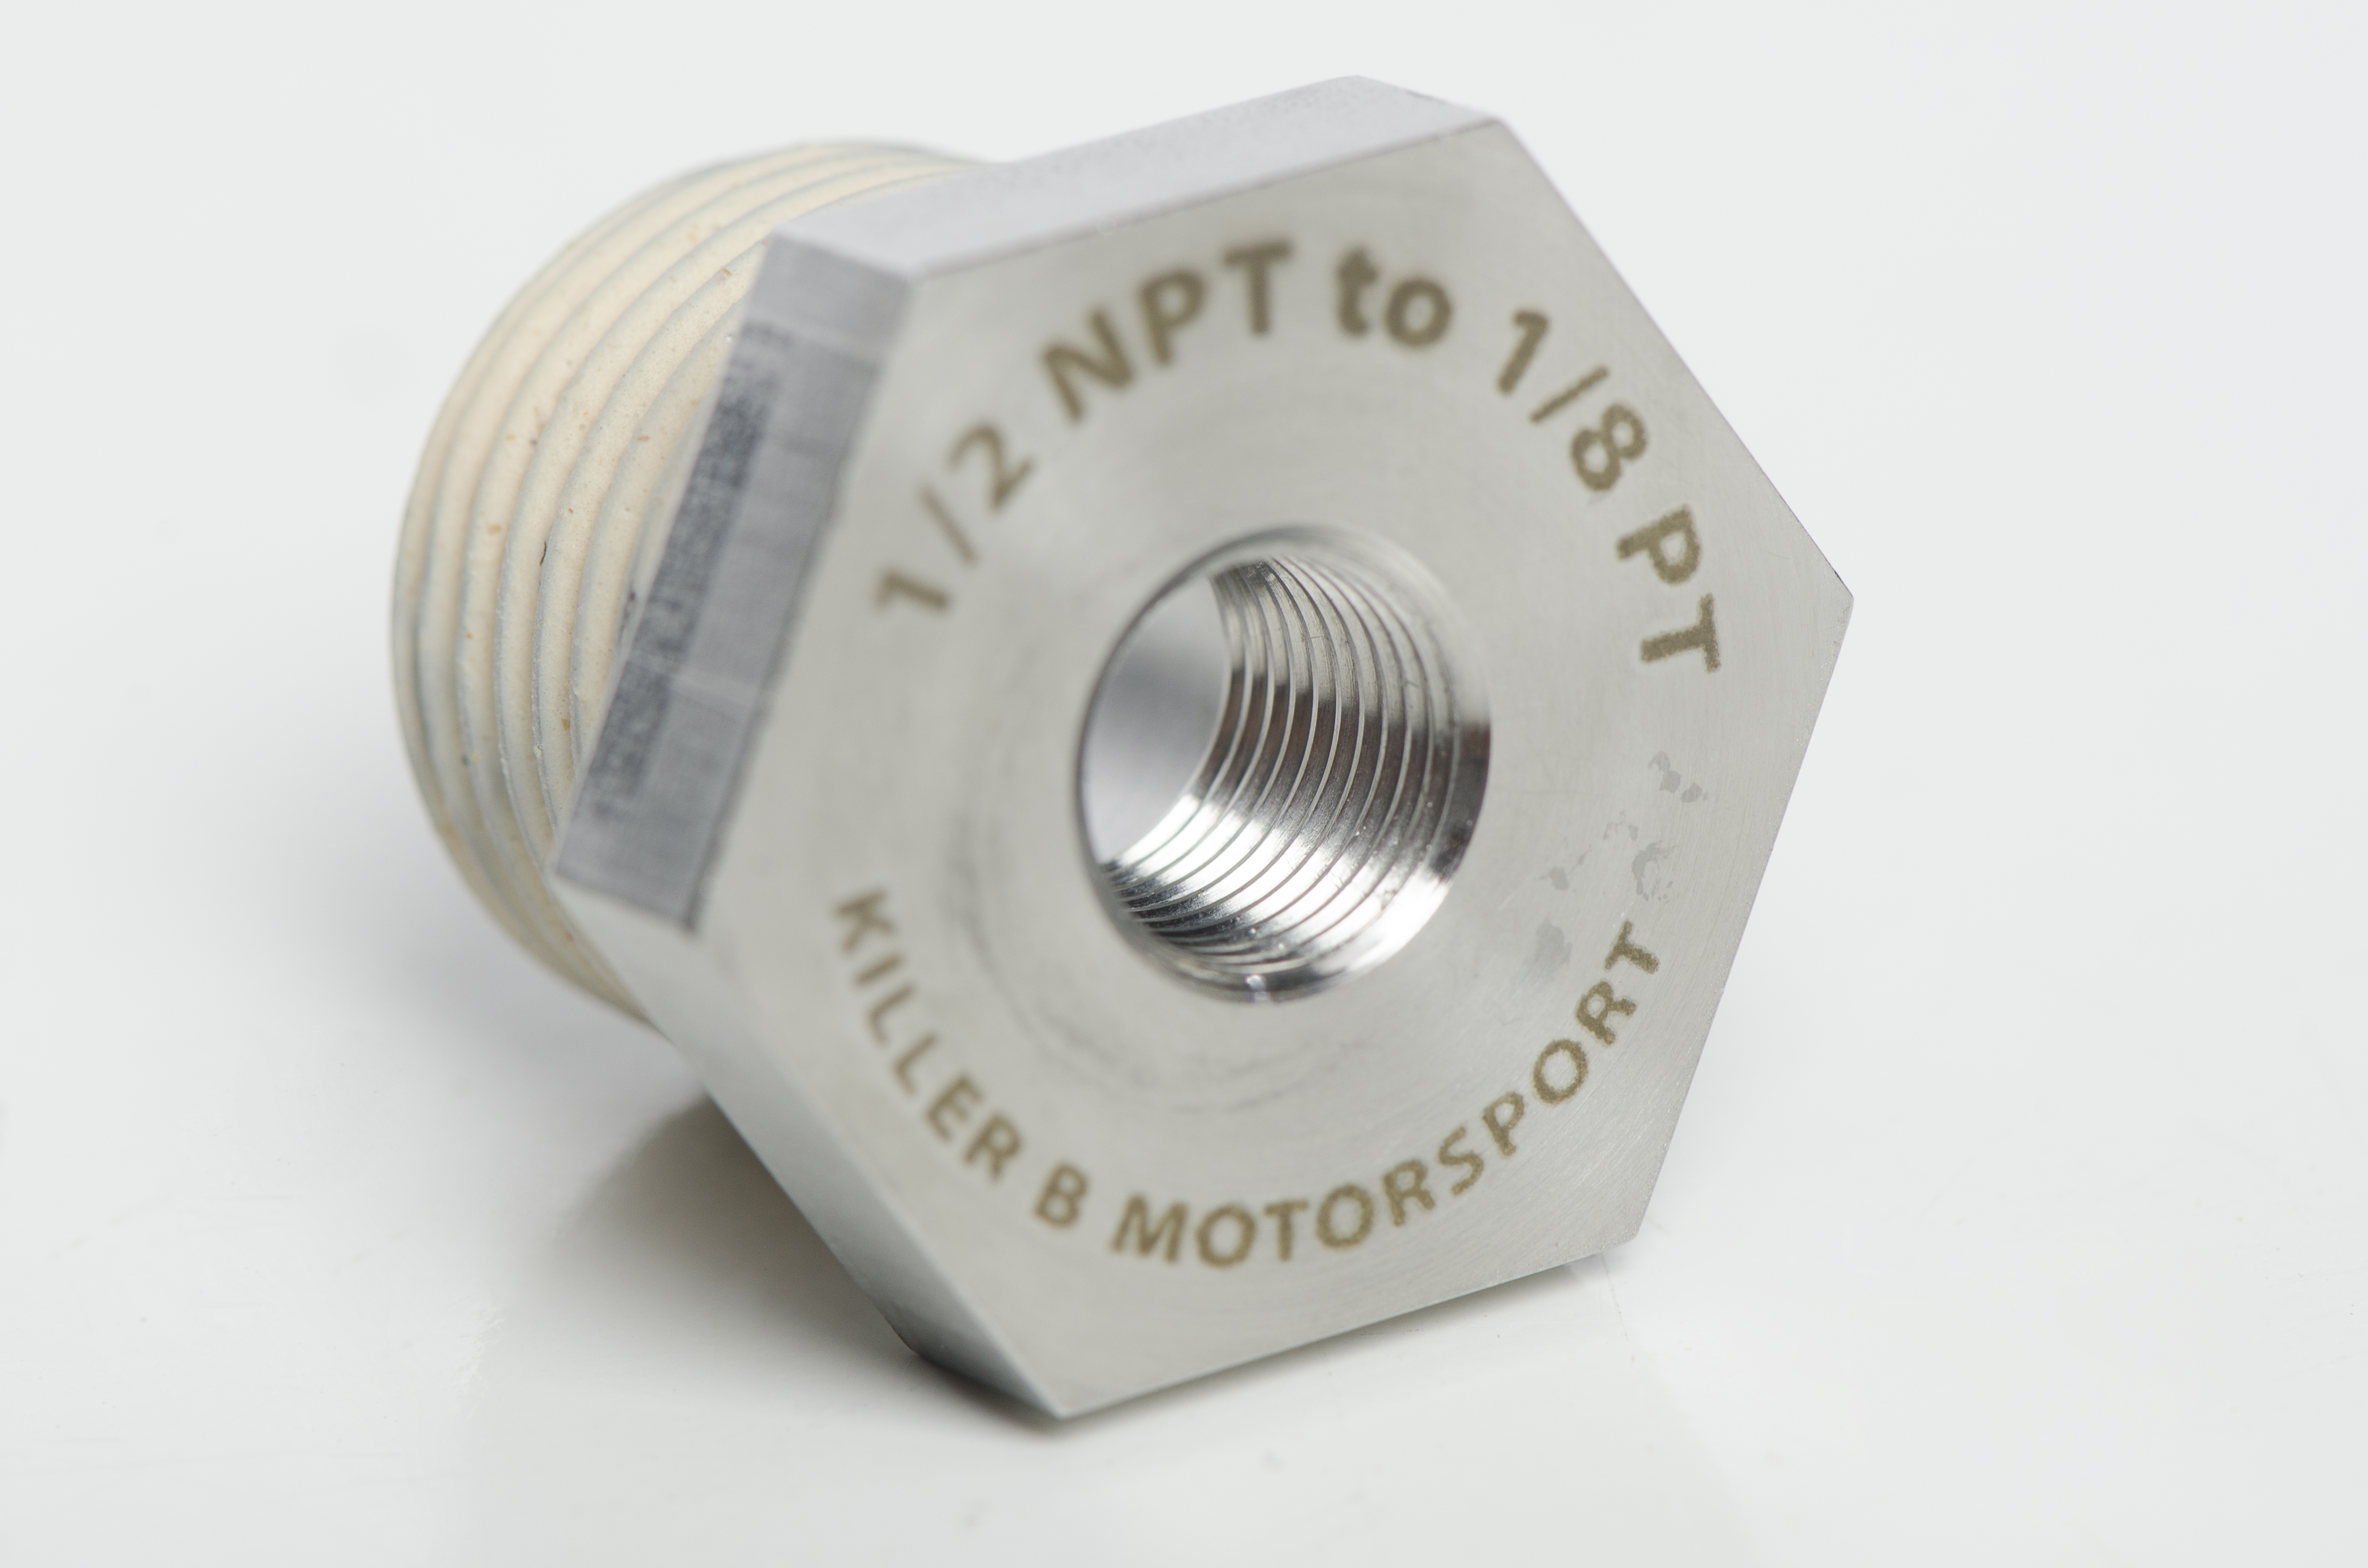
Imagine this, you have just received your new Killer B Motorsport oil pan and fittings for the drain ports. You've been patiently waiting for this package since Killer B products are often on back order so you are pretty anxious to get your shiny new pan installed. You embark on the task of test fitting your components. Turning the pan port side up you spin the OEM drain plug into the M20 hole with ease. Next you unpack your new 1/2 NPT Fumoto valve. Easy oil changes here we come! But wait, your Fumoto valve seems to get stuck after just a few turns into the NPT port. The OEM drain plug screwed in all the way down to the flange firmly sealing against your new copper crush washer. So what's with this NPT port? Puzzled, you check the threads for debris but nothing. What do you do next?
Well this is where the story takes a turn for the worse. Some of our customers turn the fumoto valve with a fleet of ever larger wrenches hoping to bottom out the valve. Sadly that never happens. The end result is a Fumoto valve that is forever a part of the pan or (if this person used a pipe wrench with a 6 foot long pipe slipped over the handle for leverage) the threads are ripped out of the port. Either way this is not the result you are looking for.
Other customers (the ones who never ate lead paint off the window sill) contact us for help. This is my opportunity to bore the customer with a long history of NPT threads, why the standard was created and how to properly install them. It turns out most customers just want a quick "how to" and my boss doesn't like it when I waste an hour blabbing on the phone about such a simple install.
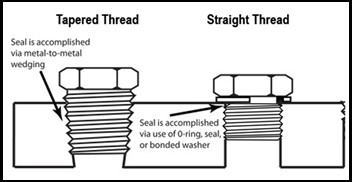
Here is my simple explanation. An NPT thread is tapered and self sealing, while the threads that are commonly used (NPS) are straight and require a flange to seal.
So how do you install an NPT threaded fitting? This is very easy.
Step One:
(Optional) Get a drink. Beer, bourbon, whatever floats your boat. I'd say White Claw but I can't picture people who drink those working on cars. Don't drink too much. No one wants to hear how the car fell on you because you don't know how to control yourself.
Step Two:
Always inspect threads for debris or burs before you try to screw in the fitting. Test fit by spinning the fitting in until the thread starts to feel hand tight. This should require 2 to 4 full turns of the fitting without the use of a wrench.
Step Three:
If the fitting spins in as described in step 2, remove the fitting and apply either liquid thread sealant or Teflon tape. Leave the first two threads uncovered.
Step Four:
Now install the fitting to hand tight again.
Step Five:
Finally turn the fitting in 1.5 to 3 revolutions using a proper wrench (that means no vice grips, pipe wrenches, water pump pliers, etc.... Don't be lazy. Get up and walk all the way to the tool box.)
Don't call and request a torque spec. Torque specs do not apply to tapered threads. There are just to many variables.
If you continue to have problems take your car to a professional. If you think there is a problem with the threads call your friend or uncle who claims to know everything about cars and ask them. If they don't know what's going on you can call us, but be prepared for a long winded meandering story like grandpa used to spin.